DIY Cultured Stone A Comprehensive Guide to Creating Your Own Custom Stone Finish


Introduction
Cultured stone, also known as manufactured or artificial stone, is a popular choice for homeowners and designers looking to achieve the look of natural stone without the high cost and installation challenges. DIY cultured stone offers a cost-effective and customizable solution for creating stunning stone finishes for interior and exterior projects. In this comprehensive guide, we will explore the benefits of using DIY cultured stone, the materials and tools needed for the project, step-by-step instructions for creating your own cultured stone finish, as well as tips and tricks for achieving professional results.
Benefits of DIY Cultured Stone
There are several advantages to using DIY cultured stone for your home improvement projects. Some of the key benefits include:
1. Cost-Effective: DIY cultured stone is generally more affordable than natural stone, making it a budget-friendly option for homeowners on a tight budget.
2. Lightweight: Cultured stone is lighter than natural stone, which makes it easier to handle and install, especially for DIY enthusiasts.
3. Customizable: DIY cultured stone comes in a wide range of colors, textures, and sizes, allowing you to create a custom look that suits your aesthetic preferences.
4. Easy to Install: With the right tools and techniques, DIY cultured stone can be installed by homeowners with basic DIY skills, saving you money on labor costs.
5. find out this here and Low Maintenance: Cultured stone is durable and requires minimal maintenance, making it a long-lasting and practical choice for both interior and exterior applications.
Materials and Tools Needed
Before you start your DIY cultured stone project, it's important to gather all the necessary materials and tools. Here is a list of items you will need:
Materials:
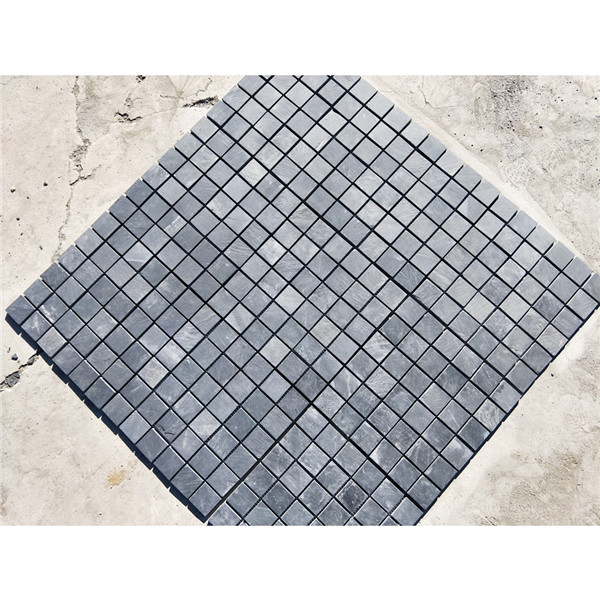
- Cultured stone veneers
- Mortar mix
- Water
- Bonding agent
- Grout
- Sealer
Tools:
- Trowel
- Notched trowel
- Bucket
- Level
- Safety glasses
- Gloves
- Sponge
- Jointing tool
Step-by-Step Instructions
Now that you have gathered all the materials and tools, it's time to begin your DIY cultured stone project. Follow these step-by-step instructions to create your own custom stone finish:
Step 1: Prepare the Surface
Before installing the cultured stone veneers, it's important to prepare the surface by cleaning it thoroughly and ensuring it is free of dust, dirt, and debris. Use a wire brush to remove any loose particles and make sure the surface is smooth and even.
Step 2: Apply Bonding Agent
Next, apply a bonding agent to the surface to help the mortar adhere to the substrate. Follow the manufacturer's instructions for mixing and applying the bonding agent, and allow it to dry according to the recommended drying time.
Step 3: Mix Mortar
Prepare the mortar mix by combining the mortar with water in a bucket. Use a trowel to mix the mortar until it reaches a thick, pasty consistency.
Step 4: Apply Mortar to Veneers
Using a notched trowel, apply a layer of mortar to the back of each cultured stone veneer. Make sure to spread the mortar evenly to ensure a strong bond when installing the veneers.
Step 5: Install Veneers
Carefully place the cultured stone veneers onto the prepared surface, starting from the bottom and working your way up. Press each veneer firmly into the mortar to ensure a secure fit. Use a level to check that each veneer is straight and aligned with the surrounding stones.
Step 6: Grout Joints
Once all the veneers are in place, use a grout mix to fill in the gaps between the stones. Use a jointing tool to smooth out the grout and create a clean, uniform finish.
Step 7: Clean Excess Mortar
After the grout has dried, use a wet sponge to clean off any excess mortar or grout from the surface of the stones. Make sure to wipe the stones gently to avoid removing the grout from the joints.
Step 8: Seal the Finish
To protect your DIY cultured stone finish and enhance its durability, apply a sealer according to the manufacturer's instructions. This will help prevent moisture penetration and make the finish easier to clean and maintain.
Tips and Tricks for Professional Results
To achieve professional-looking results with your DIY cultured stone project, consider the following tips and tricks:
- Take your time and work carefully to ensure each stone is properly aligned and securely installed.
- Use a level frequently to check that the stones are straight and even.
- Experiment with different patterns and layouts to create a unique and visually appealing design.
- Allow ample time for the mortar and grout to dry before applying the sealer to ensure a strong and durable finish.
- Practice proper safety precautions, such as wearing gloves and safety glasses, when working with mortar and other materials.
Conclusion
DIY cultured stone is a versatile and cost-effective option for homeowners looking to add a touch of elegance and sophistication to their interior and exterior spaces. By following the step-by-step instructions in this guide and implementing the tips and tricks provided, you can create your own custom stone finish that will enhance the beauty and value of your home. Whether you're a seasoned DIY enthusiast or a novice looking to tackle your first home improvement project, DIY cultured stone offers a rewarding and satisfying way to transform your living space.